Importing and exporting data
AppGini provides a simple way to import data from CSV files and export data to CSV files. This section provides an overview of the importing and exporting data features in AppGini applications.
Exporting data to CSV
AppGini provides an option to export data from any table to a CSV file. To do this, go to the desired table and locate the Save CSV button above the table view. Clicking this button downloads a CSV file compatible with Excel. The file includes the column titles in the first row, followed by the data for each field arranged in rows and columns. Each row in the CSV corresponds to a record, and each column contains the data from a specific field.
Filtering data before export
Before exporting your data, you can apply filters to refine the records you want to include. For example, to export suppliers from a specific country, use the filter options to select your criteria—such as suppliers from the United States. Once the filter is applied, only the matching records will appear in the table view. Then, by clicking Save CSV, you will export only the filtered records, such as the list of suppliers from the United States.
Restricting which tables can be exported
In some cases, you may want to restrict which tables can be exported to CSV. This can be useful for limiting access to sensitive data. To restrict exporting for a specific table, follow these steps:
- Open your AXP project in AppGini.
- Click on the table you want to restrict exports for from the left tree view.
- Under Table view settings, uncheck the option Allow saving data to CSV files.
- Regenerate and reupload your application to apply the changes.
Restricting users that can export data
To restrict which users can export data to CSV, you can use the tablename_init() hook function that you can edit in hooks/tablename.php (where tablename is the name of the table you want to restrict). In this function, you can check your business logic and then set $options->AllowCSV to true or false to control access to the CSV export feature. See this example.
Importing data from CSV
AppGini also allows you to import data into any table from a CSV file. To do this, click the Import CSV data button from the navigation menu of your application. This would open a page where you can upload your CSV file:
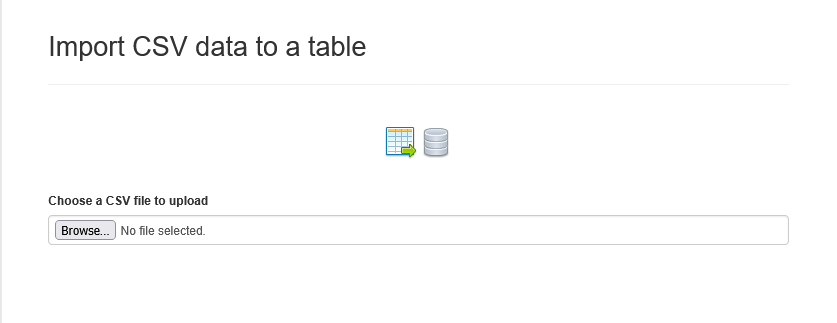
After selecting your CSV file, click the Start upload button or wait a few seconds to let AppGini automatically start the upload process. Once the upload is complete, you will be taken to the next step, where you can preview the imported data, adjust CSV options, and correct the automatic field mapping if needed:
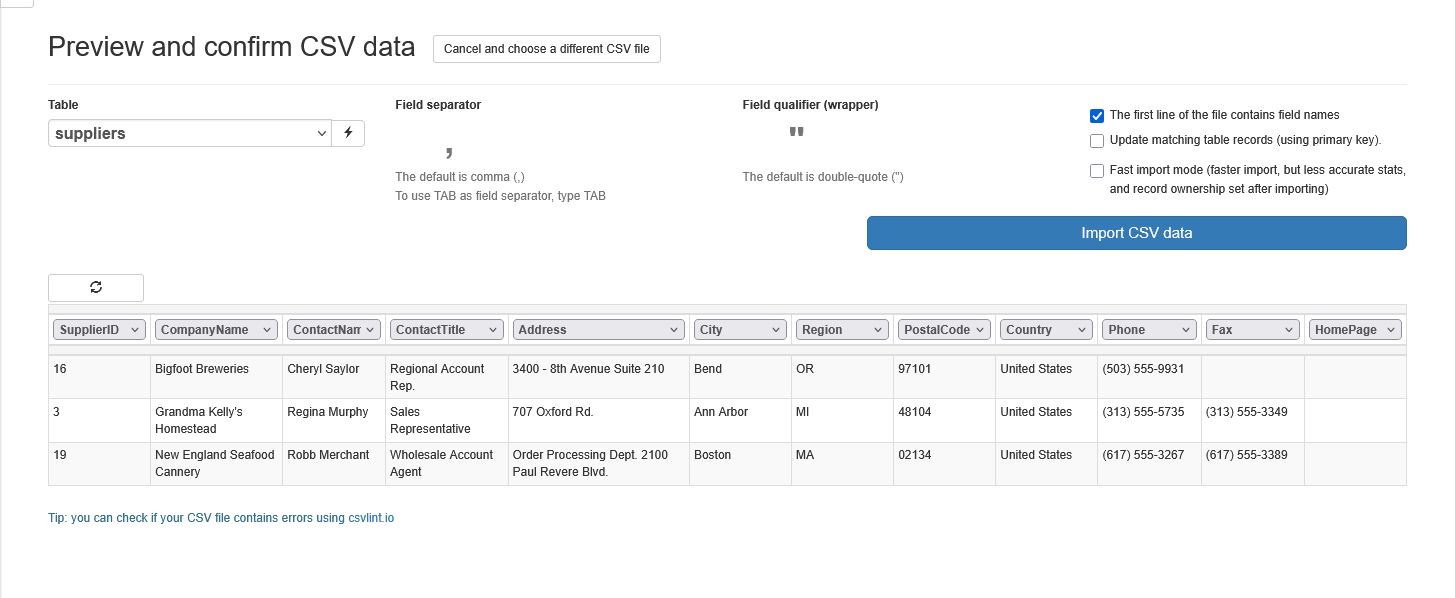
Automatic table detection and field mapping
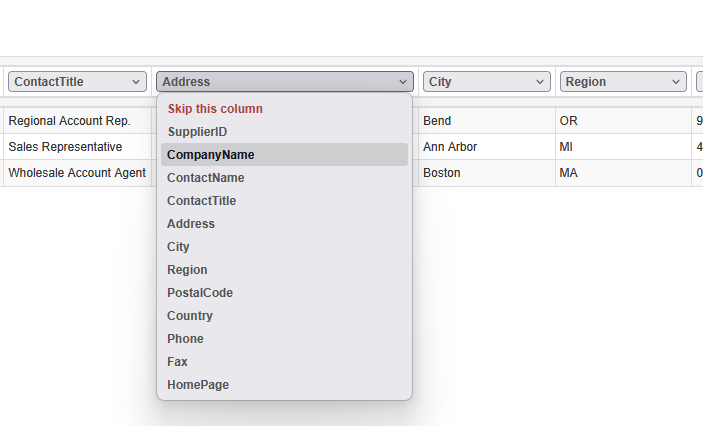
If field names in the CSV file match the field names of any table in your application, the table name and field mapping would be automatically configured. This means you won't have to manually map the fields, saving you time, effort, and potential errors. You can still adjust the mapping and/or skip fields if needed. To do so, open the dropdown menu on top of the column you'd like to remap. This will allow you to skip the mapping for that specific column, or select a different field from the table to map it to.
Other CSV options you can adjust
In the preview page, you can change other CSV settings if needed. This is usually only necessary if the preview data doesn't seem correct, for example, if all fields in the CSV are mapped to a single field, or all lines are being imported as a single record. In this case, you can adjust one or more of the following CSV settings:
-
Field separator: Change the character used to separate fields in the CSV file. The default is
,(comma). But some CSV files may use other characters, such as;(semicolon) or|(pipe). If the file uses tab characters, you should set the field separator toTAB. -
Field qualifier (wrapper): Change the character used to enclose text fields in the CSV file. The default is
"(double quote). If the file uses a different character, you can specify it here. -
The first line of the file contains field names: Uncheck this option if the first line of your CSV file does not contain field names. In this case, you might have to manually set the destination table and field mappings.
-
Update matching table records (using primary key): Check this option if you want to update existing records in the table that match the primary key values in the CSV file. If this option is unchecked (the default), CSV records having the same primary key values will be skipped.
-
Fast import mode: Check this option to enable fast import mode, which speeds up the import process but may result in less accurate progress statistics during import. Also, you'd have to manually set the record ownership for imported records after the import is complete. Use this option only if the imported CSV file is large (over 1MB or so) and performance is a concern. By default, fast import mode is disabled, and imported records will be assigned to the current user.
When any of the above settings is changed, the preview data will be updated accordingly, allowing you to see the effects of your changes before proceeding with the import.
Once you're satisfied with the preview, you can proceed with the import by clicking the Import CSV data button, then confirming to proceed. The import process is performed in batches to improve performance and reduce the risk of timeouts. You must keep the import page open during the import process. Import progress will be displayed in the UI.
Troubleshooting
If you encounter issues during the import process, such as errors or unexpected results, consider the following troubleshooting tips:
- Incorrect field separator (e.g., using
;instead of,) - Inconsistent number of columns across rows
- Missing or extra quotation marks around fields
- Special characters or line breaks inside fields not properly enclosed
- Encoding issues (e.g., file not saved as UTF-8)
- Blank lines or extra header/footer rows
- Verify your CSV file: Use an online CSV linting tool such as CSV Lint to check your file for structural issues before importing.
- Preview and adjust settings: Use the preview and CSV options in the import page to ensure fields are mapped correctly and data appears as expected.
- Check file size: Large files (over 1MB) may require enabling fast import mode. If that doesn't resolve the issue, consider splitting the file into smaller chunks and importing them separately.
Restricting users with import permissions
To prevent unauthorized access or modifications, you can restrict import permissions for specific user groups. This ensures that only users with the appropriate permissions can import data into the application. To configure import permissions:
- Sign in as an administrator.
- Go to the Admin area.
- Open the Groups menu and click on View groups.
- Select the user group you want to modify.
- Toggle the Allow importing CSV files option.
User groups configured with the Allow importing CSV files permission will be able to import data from CSV files only into tables they have insert permissions for (or edit permissions if the import is updating existing records).
Groups where the Allow importing CSV files permission is disabled will not be able to access the import functionality at all.