Resources Utilization Chart Viewer (RUView)
Resources Utilization Viewer (RUView)

RUView (pronounced like love you with an r in place of l) is short for Resources Utilization Viewer.
If your business is project-based, you typically have a team working with many projects. Each project has a start and an end date, and each team member might be working on a project for a specific period then moving to another project, or even be working on multiple projects at the same time, dividing his/her time between them. It can get really tricky trying to figure out the schedule and availability of each team member.
RUView is a free open source app that helps you visualize all the resource utilization data in one simple chart so you can instantly see who's working on what project/task and when. This allows you to quickly plan resources usage and availability.
RUView was created using AppGini. So you can easily customize it to add/remove details or any extra functionality to fit your own requirements. RUView is a responsive, multi-user web-based application that you can access from your PC, tablet, mobile or any other device.
⇩ Download the latest release (Changelog)
Features
- Responsive Bootstrap apps that work beautifully on any device.
- Support for multiple users and user groups, with easy-to-configure per-table permissions.
- Quick and advanced search.
- Export your data to CSV to work on them in Excel or other spreadsheets.
- Import already-existing data from CSV files through a powerful import wizard.
Disclaimer: AppGini itself is not an open source application, but: 1. applications generated by AppGini can be distributed as open source with any license of choice. 2. You don't need to install AppGini in order to use this app.
Installation
This is a PHP/MySQL web application that you run from a browser. You can install it either locally on your own PC, or to a web/intranet server.
1. Trying it out using Gitpod (requires a github account)
This application is ready to run within the Gitpod IDE. This will allow you to try the application out and develop it for your needs. All you will need is a web browser. Do not use this in production!!!
The app would take a couple of minutes to launch.
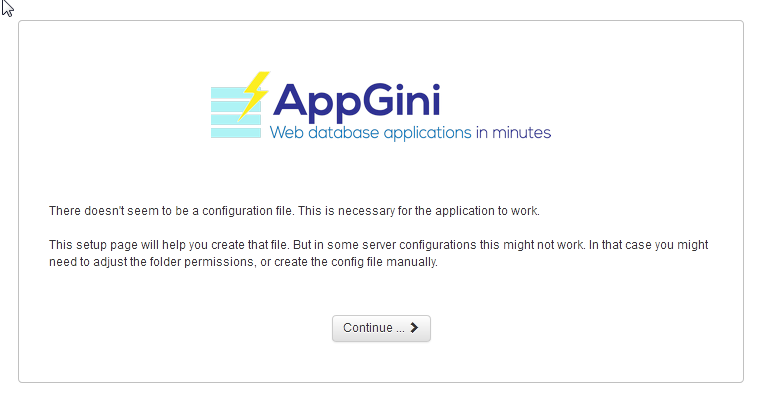
Afterwards, you'll see the welcome screen of the app in the right part of the window, where you can start the setup wizard.
When prompted to enter the database name, database username and datatbase password, you should enter appgini for all.
Gitpod is intended for previewing the app only, and is not suitable for use in actual production environments.
2. Installing to a PC
System requirements
This application can be installed on Windows, Linux and MacOS. Before installing, you should have the following software set up and running:
- A webserver (Apache, IIS, nginx, ... etc)
- PHP 7.0 or higher.
- MySQL 5.6 and above; or MariaDB 10 and above.
If you don't have the above software installed, we recommend installing Xampp latest version.
Installation steps
Download the latest release as a zip file. (Click the Source code (zip) link down the page).
Extract the contents of the zip file. Then copy the contents of the
appfolder into a folder inside your document root. For Xampp on Windows, this is usuallyC:\xampp\htdocs(more info about how to find your 'document root').In your web browser, go to:
http://localhost/app-folder/(changeapp-folderto the name of the folder inside your document root where you extracted the zip in step 2).You should now see the setup wizard in your browser. Just follow the steps!

3. Installing to a web/intranet server
System requirements
This application can be installed on both Windows and Linux servers. Before installing, make sure your server has the following software:
- PHP 7.0 or higher
- MySQL 5.6 and above; or MariaDB 10 and above.
Make sure your have access to a MySQL/MariaDB database. You might need to set up one in your server control panel. Please refer to your server documentation or the technical support staff for help on this if needed.
If your server has cPanel installed, here is a screencast explaining how to install your application using cPanel.
Installation steps
Download the latest release as a zip file. (Click the Source code (zip) link down the page).
Extract the contents of the zip file. Then upload the contents of the
appfolder to a folder inside your server document root. This might be a folder namedpublic_htmlor/var/www/htmlor something else, based on how your server is set up (ask your server admin if you need help on that).In your web browser, visit
http://server.com/app-folder/(changeserver.comabove to the actual domain name or IP address of your server, and changeapp-folderto the name of the folder inside your document root where you uploaded the files in step 2).You should now see the setup wizard in your browser. Just follow the steps!
Customization
This application was created using AppGini. This means you can easily customize it by opening the included AXP project file in AppGini. Examples of possible customization you can do from there include:
- Changing the application theme.
- Adding more fields to existing tables, or entirely new tables to fit your use cases.
- Changing the options/behavior of any table/field in your application.
- For more details, check the AppGini tutorials.
You can also perform more advanced customization, like adding reports, changing validation rules, adding business logic, ... etc. through hooks. Please refer to the AppGini hooks documentation for more details.
Contributions to this project are always welcome :)

